
Torn Christmas Tree
Materials:
- 12" x 12" Scrapbook Paper (for the base of the tree)
- Scrapbook paper (at least 2 different patterns)
-Paper trimmer
- Scissors (optional)
- Tape
Step 1: Making a Tree!
Take your 12" x 12" piece of Scrapbook paper and begin to roll it up into the shape of a cone. Tape the paper so that it doesn't unroll. After you are done, the bottom of the cone will have a long piece sticking out. Trim the paper so that you have a flat surface.


Step 2: Tear it Up!
Cut strips out of the different patterned papers. I started with about 2" strips, but as I moved up the tree, I found it easier to work with 1" strips. Take your first strip and make small tears along one end of the paper. I made the tears about a .25" apart. If you want a cleaner look, you can cut the strips rather then tearing them, but I like the torn look better.

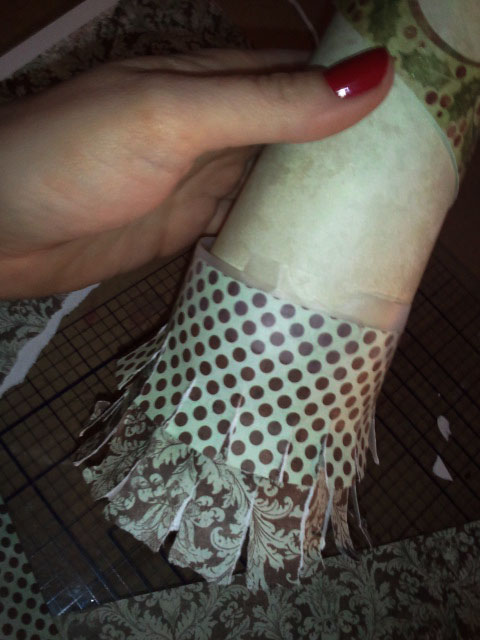
Step 3: Wrap It!
Starting wrapping the first strip of paper at the bottom of the tree. I used tape to adhere the strips to the tree (I ran out of my fabric adhesive and was too lazy to run to the store. The fabric adhesive would have probably worked better, but the tape worked just fine for my first time). Once you have wrapped the first strip around the tree, repeat with a different patterned strip. Repeat these steps until you reach the top of the tree.

Step 5: To Top it Off...!
Seeing as how I am on a twine kick (and it was about 1:00 am by the time I finished this) I kept the tree topper simple. I took the twine and a small 1" x .5" piece of chipboard. I wrapped the chipboard with twine and created a ball at the top. I wrapped twine around the tree for a simple decoration.


I have to say, I am NOT a fan of how these pictures turned out. The tree is soooo much cuter in person. These pictures definitely do NOT do the tree justice.
No comments:
Post a Comment